
16 December 2025
As a business owner or executive who has built a company from the ground up, worn many hats, and juggled countless responsibilities, there will...
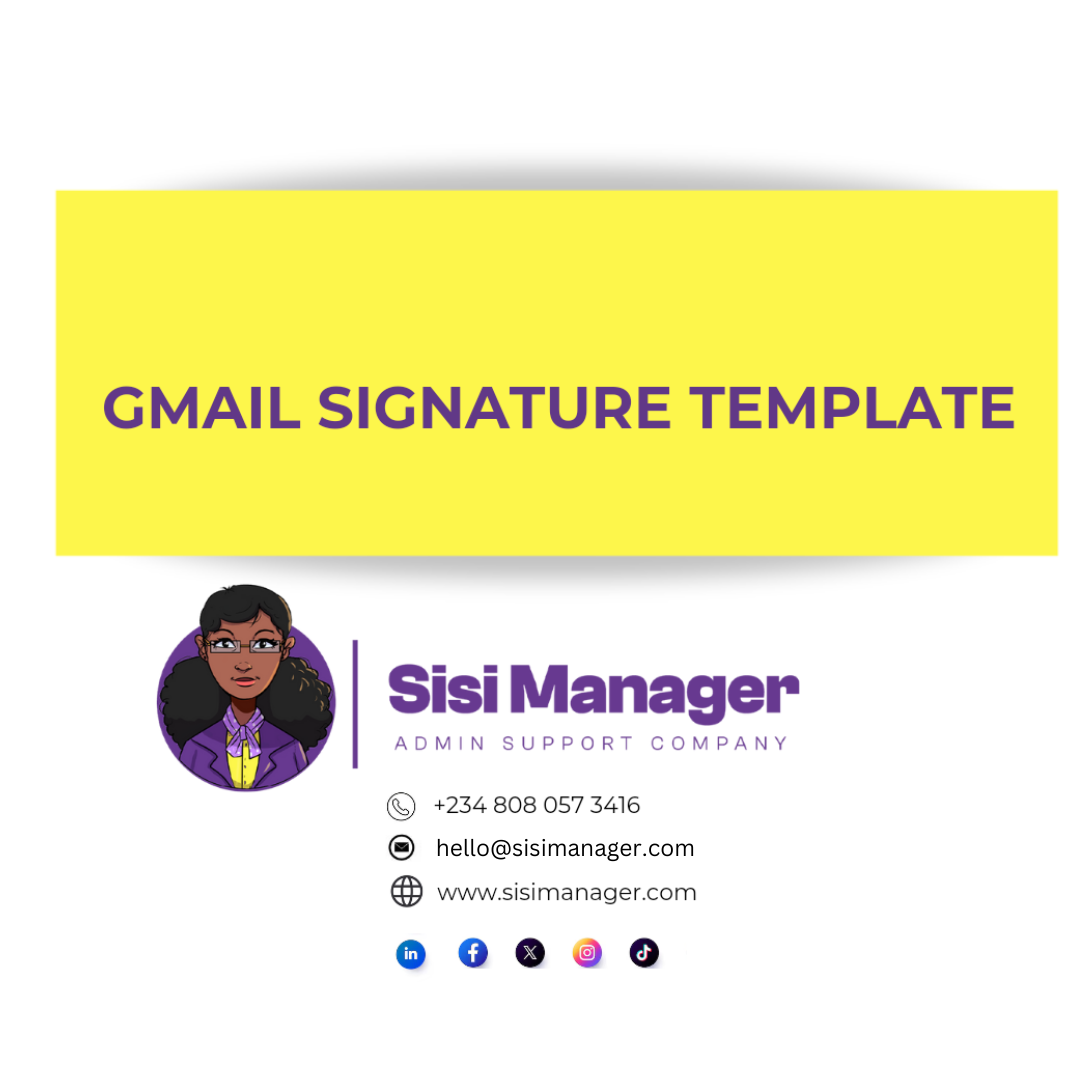
In today’s fast-paced digital world, first impressions often start with an email. Your message can be perceived as incomplete and less credible without a professional email signature. Imagine going beyond the status quo when sending an email, instead of signing off with ‘best regard, (name)’, you include a beautiful image, logo, contact details, portfolio, and social media icons which take your recipient directly to your social media page in one click.
An incomplete email signature can lead to missed opportunities, as recipients might not have easy access to your contact information or social media platforms. In this article, we’ll walk you through the steps to create a polished and professional signature that not only provides essential details but also showcases your brand

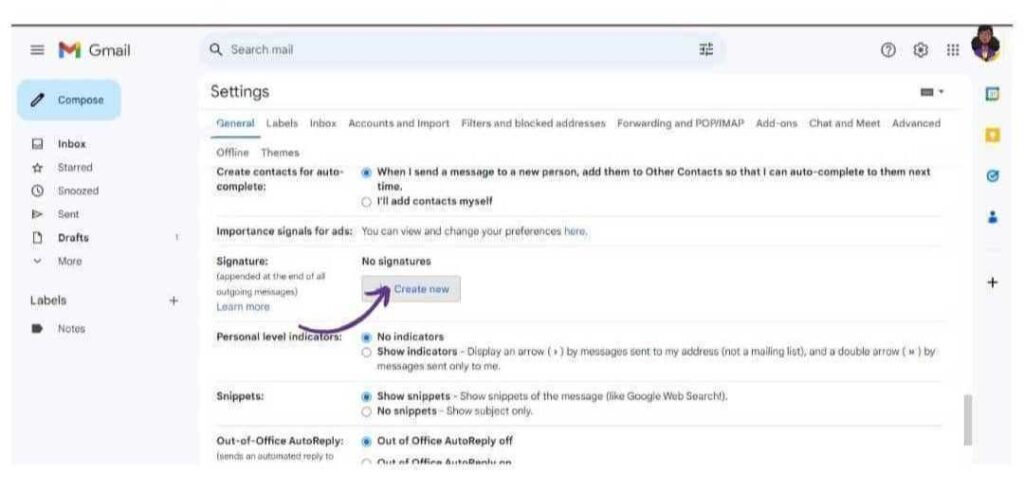
Open Your Gmail Account

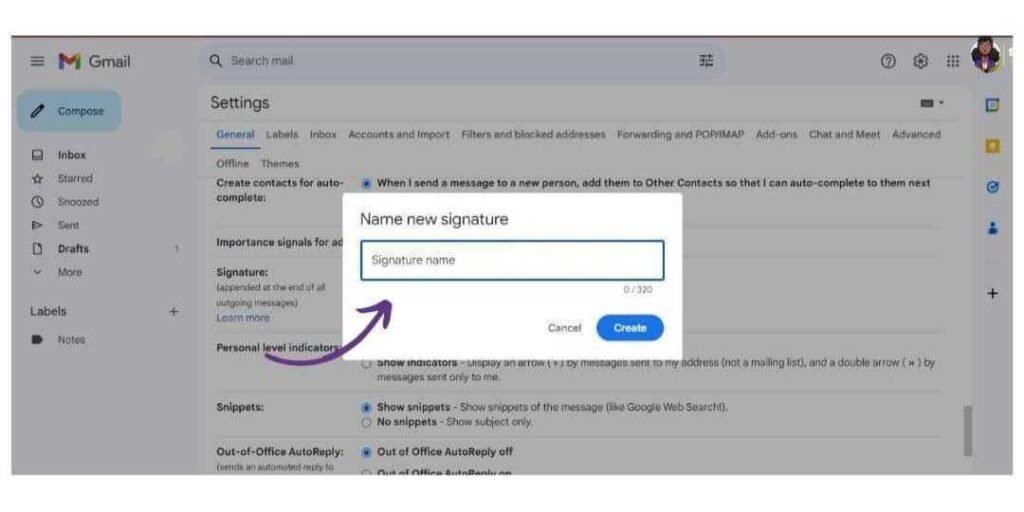
Create a New Signature
At this stage be careful not to go overboard. Keep it concise; don’t go beyond 3-4 lines in your text and maintain consistency when you incorporate colours in your logo for your text.
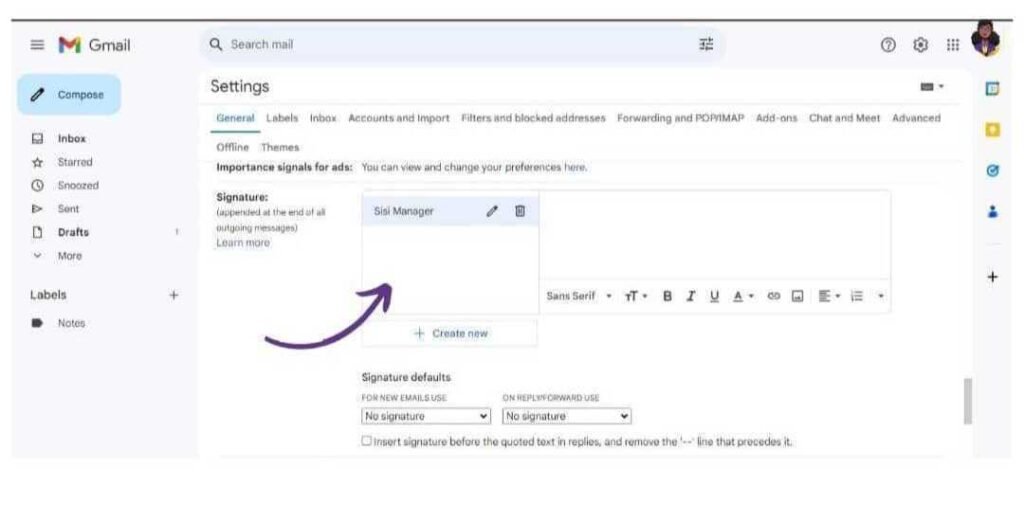
Save Your Changes
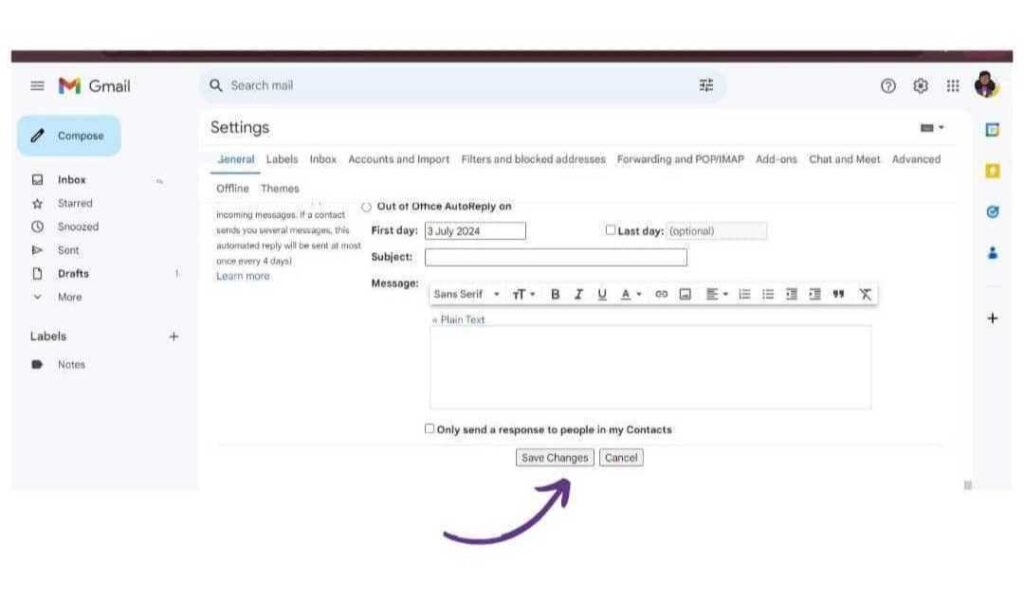
In conclusion, creating a professional Gmail signature is a great way to add a personal touch to enhance your email communication and make a lasting impression. After these steps, compose a new email to test what your new Gmail signature looks like. If you are dissatisfied with the outcome, go back to your settings to edit.
Feeling overwhelmed or unsure about setting up your signature? You can outsource it alongside other administrative tasks to a Virtual Assistant. Sisi Manager can help you handle all these while you focus on other essential duties. Contact us today!
As a business owner or executive who has built a company from the ground up, worn many hats, and juggled countless responsibilities, there will...

Running a business demands juggling numerous responsibilities, from sales and marketing to addressing customer needs while managing a constant influx of emails, reports, and...

Every business owner needs the kind of reliable, consistent, behind-the-scenes support that keeps things moving even when they are not watching. That is where...